
What is a safety light curtain?
PRODUCTS
-
Inductive proximity sensor
- Square Proximity Sensor
- High temperature proximity sensor
- Low temperature proximity sensor
- ring proximity sensor
- Standard inductive proximity sensor
- Ultra Small inductive proximity sensor
- Long Distance Proximity Sensor
- Corrosion resistant proximity sensor
- metal face proximity sensor
- high pressure proximity sensor
- Analog proximity sensor
- namur proximity sensor
-
Laser sensor
- Explosion-proof laser distance measurement sensor
- Laser distance measurement module
- Intelligent driving system
- Laser hot and cold metal sensor
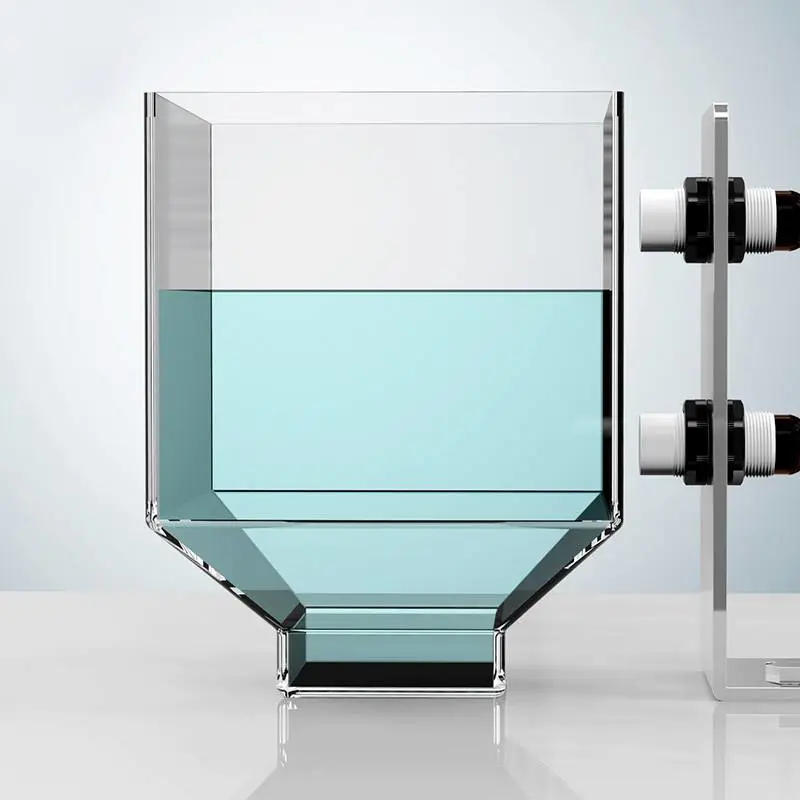
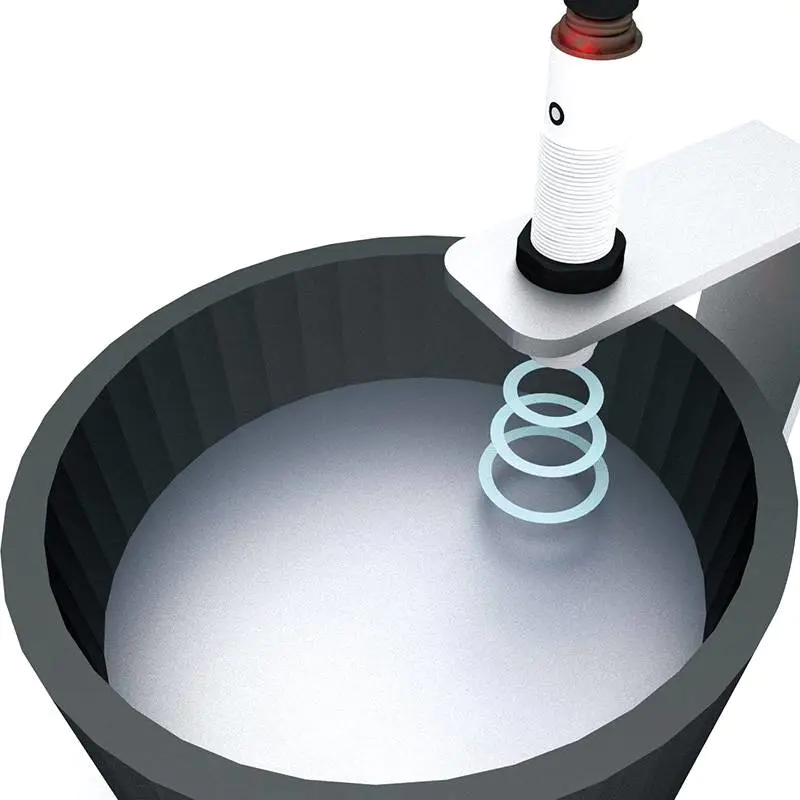
- Laser liquid level sensor
- TOF laser photoelectric sensor
- High-precision displacement sensor
- Amplifier built-in TOF laser sensor
- High frequency laser distance sensor
- High-precision laser distance sensor
- Capacitive proximity sensor
-
Photoelectric sensor
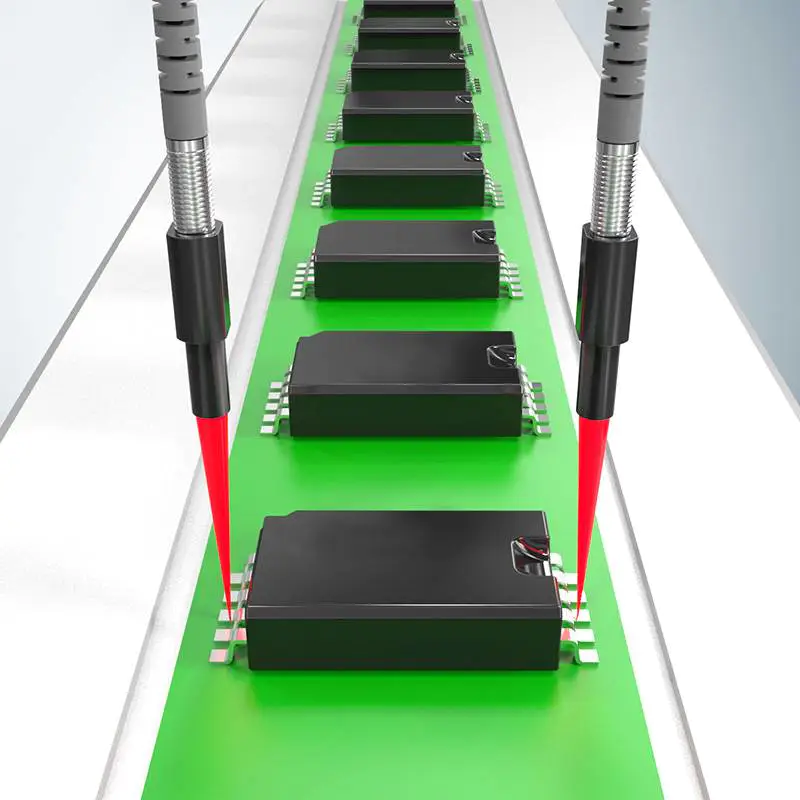
- Traffic collision protection device
- Square series
- Optical fiber
- Fiber amplifier
- standard series
- Cylindrical Photoelectric sensor
- Slot type Photoelectric sensor
- Square type Photoelectric sensor
- Long range Photoelectric sensor
- Optical fiber sensor
- High temperature Photoelectric sensor
- Laser Photoelectric sensor
- Color mark sensor
- Small photoelectric sensor
- Safety light curtain
- Megnetic Sensor
- Speed Sensor
- Textile special sensor
- Limit switch
- Vibration Sensor
- Measuring sensor
- Wireless sensor
- Conveyor belt protection devices
- Sensor accessories
temperature sensor with led
by:KJTDQ
2020-05-02
Use a pair of wire cutting machines, bring your Viernier temperature probe and cut off the end of the wire.
Inside, you will see six colored lines: take a pair of peeling lines and peel off the green and black lines: These two lines will serve as your thermal resistor (
Temperature sensor).
Weld half of the jumper to a green and black wire.
The sensor circuit you are going to build will connect the cursor temperature probe in order to read the temperature value on the Arduino serial monitor.
Follow the schematic diagram and build the circuit on the breadboard as shown in the third photo.
One wire of the thermal resistance of the cursor temperature probe is connected to 5 v, while the other wire is connected to the analog pin a5 of the Arduino.
This circuit uses a 220 Ω resistor.
* The thermal resistor runs to 5 v, the analog pin 5*220 Ω resistor is connected to the ground, run to analog pin 5 * connect a jumper from the ground to the negative track * connect a jumper from 5v to the right track note: The image of the thermal resistor in the circuit diagram is inaccurate, we have created the circuit for the thermal resistor, let\'s start programming!
This code turns on the serial monitor and allows the cursor temperature probe to output values based on the temperature of the environment in which the probe is located.
In this case, the output is from 0-100 (
The number corresponding to the low temperature unit is low, and the number corresponding to the high temperature unit is high). 1.
PinMode: Measure the input of the analog pin 5 2.
AnalogRead: Read the input from the thermal resistor 3. map()
: Print the value in the serial monitor from 0 to 1023 (current range)into 0 to 100 (target range)
Double check: Let\'s check before we move on to the next step to make sure the temperature probe works!
Pour two glasses of water: one cold and one hot.
Insert cursor temperature probe in cold water: number on serial monitor (between 0-100)
Should be registered as low value.
Then insert the probe into the hot water Cup;
The reading on the serial monitor should increase and the value is relatively high.
It\'s time to connect the LED to the rest of the circuit.
To connect the LED to the temperature sensor circuit, connect the LED to pin13 using a 470 Ω resistor. *LED cathode (short leg)
* LED anode (long leg)
Run to digital pin 13*470 Ω resistor run to pin 13 and LED anode * connect to negative rail from cathode of LED * connect from resistor to jumper positive track in order to read according to temperature on serial monitor turn the light on and off, insert the code above.
This code indicates that if the serial monitor outputs a number greater than or equal to 60, the LED will omit the light (turn on).
If the value read by the serial monitor does not meet this limit (“else”)
, Then the LED will turn off. 1. if. . .
Others: if tested, others can proceed with another test so that multiple mutually exclusive tests can be run at the same time.
Each test will continue to the next one before encountering a real test. 2.
AnalogWrite: value id duty cycle; between 0 (always off)and 255 (always on). Note: -
One with hot water and the other with cold water.
Connect the Arduino to the computer using the adapter line and turn on the serial monitor on the Arduino.
Insert the probe into cold water first to see what happens.
Then put it in the hot water, what changes?
The LED should be turned off when the probe is immersed in cold water.
The LED should be turned on when the probe is immersed in hot water.
Hope this is helpful and have fun!
Custom message
Related Products


![[Good news] Nanjing Institute of Technology joins hands with Kaijit to establish an “off-campus practical education base”](https://img80002753.weyesimg.com/uploads/www.kjt-sensor.com/images/17133382885300.jpg?imageView2/2/w/1920/q/75/format/webp)


![[Good news] KJT was awarded the](https://img80002753.weyesimg.com/uploads/www.kjt-sensor.com/images/17132350274153.jpg?imageView2/2/w/1920/q/75/format/webp)
![[Invitation Letter] 2021SIA Dongguan Smart Factory Exhibition and DME Dongguan International Machine Tool Exhibition](https://img80002753.weyesimg.com/uploads/www.kjt-sensor.com/images/17132347116490.jpg?imageView2/2/w/1920/q/75/format/webp)
![[Good news] Kaijit passed the national high-tech enterprise review and certification](https://img80002753.weyesimg.com/uploads/www.kjt-sensor.com/images/17132343883285.jpg?imageView2/2/w/1920/q/75/format/webp)